-
The Safe Way to Update Windows Drivers Manually
By Chris October 11, 2026No TagsNo CommentsYour computer relies on hardware drivers-specialized software components that act as a translator between your Windows operating system and your physical hardware.
Whether it is your graphics card, Wi-Fi adapter, or motherboard chipset, keeping these drivers updated ensures peak performance, fixes bugs, and prevents system crashes like the dreaded Blue Screen of Death (BSOD).
While Windows automatically manages many updates, major hardware components often require manual intervention to get the latest optimizations. Here is a step-by-step guide on how to update your system drivers manually.
Method 1: Using Windows Device Manager
Windows includes a built-in utility called Device Manager that lets you view and manage all connected hardware.
1. Open Device Manager: Press the Windows Key + X on your keyboard and select the Device Manager from the menu.
2. Locate the Hardware: Browse through the categorized list (e.g., Display adapters for your graphics card or network adapters for Wi-Fi) and click the arrow to expand it.
3. Trigger the Update: Right-click the specific hardware component and click the Update driver option.
Method 2: The 1-Click Shortcut using Driver Reviver
1. Download Driver Reviver: Get the latest version of Driver Reviver through the link provided below.
Get Driver Reviver’s Latest Version
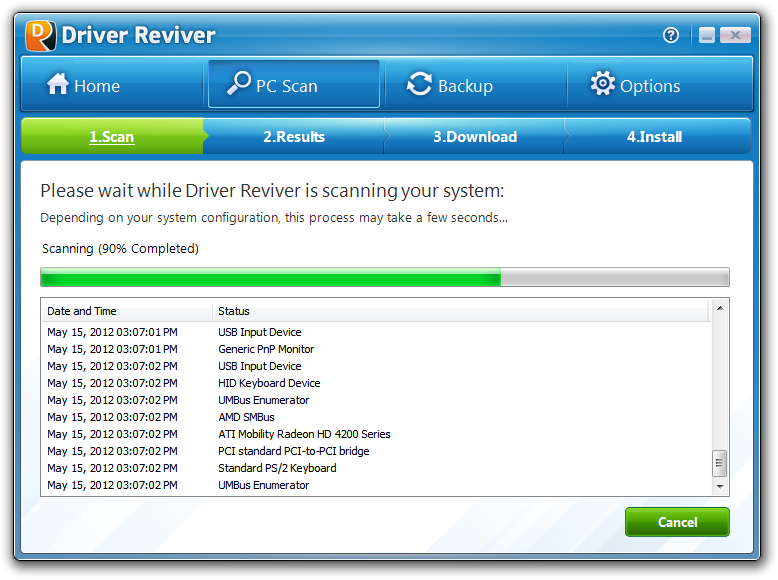
2. Launch Driver Reviver: Scan your computer and once the program detects outdated drivers, please review the results.
3. Update Safely: Click the Update button. Driver Reviver automatically creates a secure backup of your old settings and installs the official manufacturer updates safely behind the scenes-completely removing the manual hassle.
Questions? We got you, please feel free to ask us.
Happy Computing!
Chris & ReviverSoft Team
Was this post helpful?YesNoFree Driver Updates
Update your drivers in less than 2 minutes to enjoy better PC performance - Free.
Free Driver Updates
Update your drivers in less than 2 minutes to enjoy better
PC performance - Free.
Didn't find your answer?Ask a question to our community of experts from around the world and receive an answer in no time at all.Pin It on Pinterest